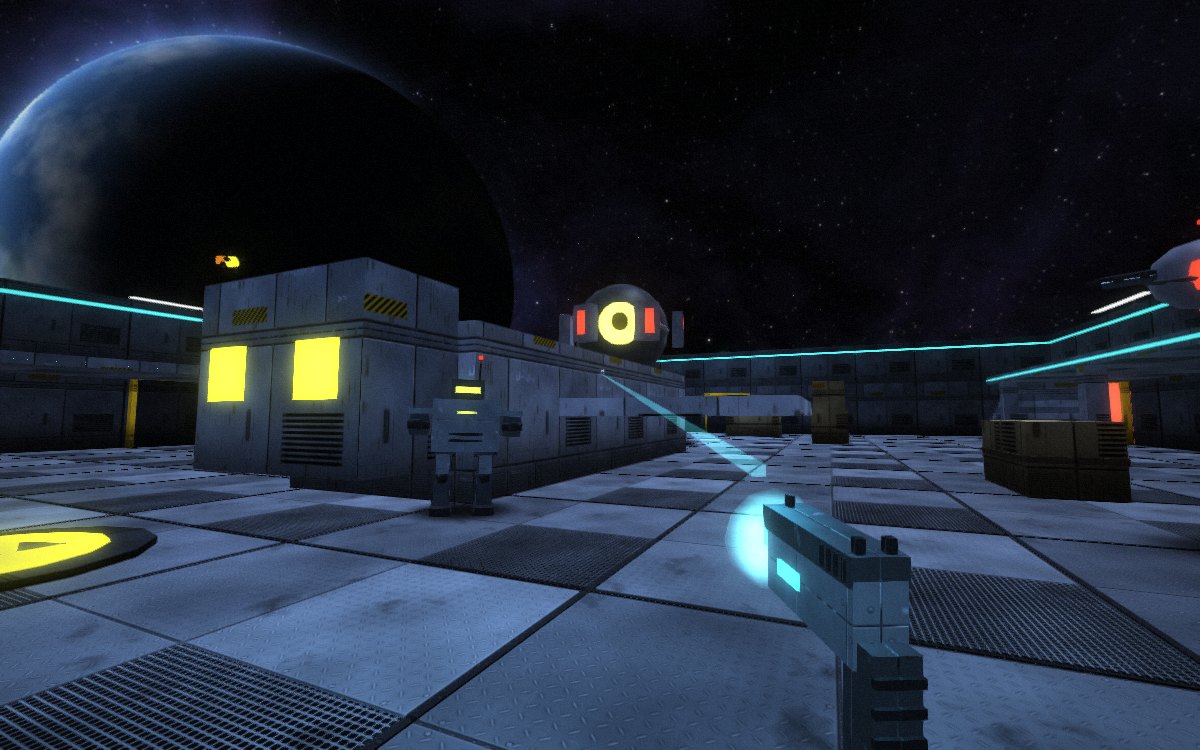
Controls
- W A S D: move. Mouse: aim. Left click: fire. Hold it down.
- Space: jump. Press it again in the air for a second jump.
- Shift: dash the way you are moving. Nothing can hurt you during a dash. It needs about two seconds to come back.
- 1 to 5, or the wheel: pick a gun. Q or right click: the gun you had before.
- C or V, in the air: slam straight down. The landing hurts every machine near you, and more the further you fell. Nothing can hurt you on the way down.
- Esc or P: pause. Mouse speed and field of view are in the pause menu.
- Touch: left thumb moves, right thumb looks. Fire, Jump, Dash, Slam and Gun are on the right. Shots bend a little further toward a target on touch.
The five guns
- Pulse pistol: never runs out. Accurate. Always there when the others are empty.
- Scattergun: ten pellets. Huge up close, weak far away.
- Arc caster: lightning that jumps from one machine to the next. It goes straight through shields.
- Rail lance: one line through everything standing on it. Slow to fire.
- Launcher: rockets. Shoot the floor at your feet to jump higher. It hurts a bit.
You start with the pistol. The other four turn up as you clear waves in the first two sectors, and you keep them for good.
The machines
- Drone: circles you and spits one slow shot. Easy alone, annoying in sixes.
- Crawler: runs at you and bites. It will leap up to wherever you are standing.
- Sparker: flies straight at you, beeping, and blows up. Shoot it early and it blows up whatever is next to it instead.
- Gunner: walks slowly and fires bursts of four. Its head takes nearly double.
- Lancer: hangs back and draws a thin line on you. When the line turns white, move. It fires a second later.
- Bulwark: a walking wall. The shield covers its front, so get behind it, or use the arc caster or a rocket.
- Splitter: breaks into three shards when it dies. Have room to back up.
- Lobber: stays far away and throws shells over cover. A red ring on the floor shows where the next one lands. Leave the ring.
- Phantom: nearly invisible until it is about to fire. It shows itself, fires three shots, and blinks somewhere else. Shoot it while you can see it.
The four sectors
- Hangar Bay: wide and flat. A dead shuttle to run round and catwalks down both sides. Boss: the Warden. Jump or dash its sweeping beam, and shoot the eye.
- Reactor Core: a ring round the reactor. Floor panels glow, then spark. Boss: the Reactor Heart. Nothing hurts it until all four pylons are down. Then it opens for eleven seconds.
- Observation Deck: platforms over nothing, in low gravity. Fall off and the suit drags you back for 22 damage. Boss: the Hive. It lets out shards the whole time and moves when you have hurt it enough.
- Cargo Spine: a long hall with a tram line down the middle. When the horn sounds and the track flashes, get off it. The tram scraps any machine it hits. Boss: the Foreman. Its front is armoured. Make it charge into a wall and shoot its back while it is dazed, or let the tram do it.
Clear a sector to open the next. Each one also has Endless, which keeps going and keeps getting worse.
Power-ups and mutators
- From wave two, a power-up appears on one of the yellow pads during a fight. It waits 16 seconds.
- Overdrive: double damage for 10 seconds. Haste: faster guns and faster feet for 10 seconds. Barrier: nothing can hurt you for 7 seconds.
- Mutators open once you clear Hangar Bay. Pick one before you drop in and the run pays a quarter more credits.
- Low gravity, Glass cannon (you deal double and take double), Swarm (far more machines, each a bit weaker), Chain reaction (every machine blows up when it dies) and Pistol only.
Upgrades and score
- After every wave you pick one of three upgrades. They stack, and they last for that run only. There are sixteen.
- Kills in a row build a combo, up to five times the score. It drops if you go 3.5 seconds without a kill.
- A kill while you are in the air scores half as much again.
- Your score becomes credits. Spend them in the Armory on four suit upgrades that stay for every run.
- A cleared sector gets a grade: S, A, B or C.
- Recruit gives you a thicker suit and weaker machines. Nightmare does the opposite and pays half as much again.
Tips
- Keep moving. Almost every shot in this game is slow enough to walk out of.
- Dash to get out of trouble, not into it.
- The yellow pads throw you into the air. Up high, crawlers have to leap and you can see everything.
- Machines drop repair kits more often when your suit is under half.
- Jump off a pad and slam into the middle of a pack of crawlers.
- The red arrows at the edge of the screen point at the last few machines of a wave.
How it is made
Dead Orbit has no game engine. It grew out of the small renderer written for Duck Kart, with moving lights added for muzzle flashes and explosions. Every sound is made by code.
- Each sector is a list of boxes. The same list is what you see and what you bump into.
- Every machine is made from boxes, balls and cones, and decides what to do about twenty times a second.
- On High graphics, every surface is wrapped in metal textures with bumps and shine, and each sector has its own painted sky. Bright things glow. All of it was made by a script from noise, not from photos. It is about 5 MB, loaded once.
- Low graphics skips all of that and runs on slow computers. If the game is slow, it turns the detail down by itself. You can switch in the pause menu.
- The music and every bang and zap are made by code.
- Your progress is saved on this device only. Nothing is sent anywhere.